Facebook Privacy – Use List, Save Yourself A Headache
All the talk the past few days has been about Facebook’s privacy update. Well, I have news for all 500 million Facebook users, if you haven’t been using Friend Lists to control privacy before, you better start now!
In Facebook, even before the new privacy policy took place, all users were able to create list to organize their friends. But, beyond organization, they also allowed you to control which friends saw what within your Facebook account. For example, I have a list for Family, Work, Social Networks, and No Idea (people I have never interacted with).
After all these list are setup, I can then go to Facebook’s privacy settings within my account and alter what each list has access to. With the new privacy update Facebook just rolled out, I can even control which list can view particular updates (assuming I am updating directly from Facebook). At the very least, even if you don’t setup list, you should take some time and checkout your privacy settings to ensure Facebook isn’t sharing private information with the public.
So, let’s walk through setting up a list and then giving that list access to specific parts of your Facebook account.
First, if it wasn’t obvious, you must be logged into Facebook. Once logged in, go to your Friends page by clicking on Friends, All Friends from the top navigation.
From this page, you should see an option at the top of the list to “Create New List,” click on that button.

Clicking this button will bring a “Create New List” pop-up box into view. At the top, enter the name of the list you’d like to create. For this demo, I’m going to create a list of people I know from FriendFeed so I’m going to name the list “FriendFeed”.
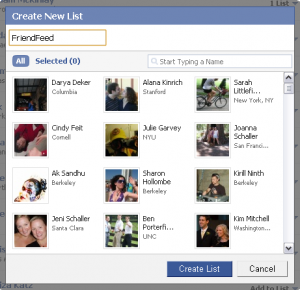
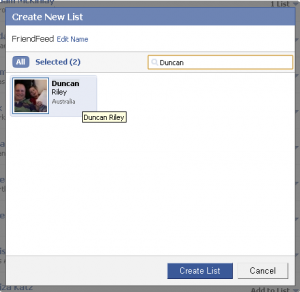
Before I click on “Create List” at the bottom of the box, I’m going to go through and find my FriendFeed related friends. You can do this by typing their names into the search box…
Or, you can scroll through the list, selecting those friends that belong to the list you are creating.
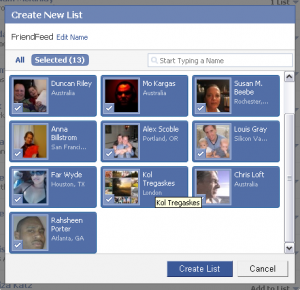
Once you have selected all the friends you want to add to this list (you can add/remove friends from list at anytime), go ahead and click “Create List.”
Sweet, you now have a new list created. Now you can apply specific privacy policies to this list. To do so, from the top navigation, click on Settings, Privacy Settings.

On the next screen, you will have 5 options to choose from all of which have several settings. For this demo, I am going to select “Profile Information.”
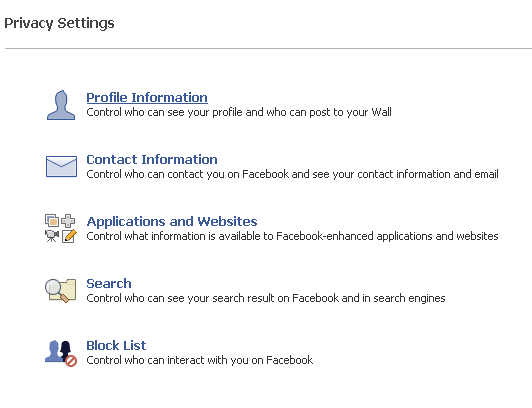
On the Profile Information settings page, you will see quite a few options. In order to change anything, you will first need to click “Change Settings” near the top of the list.
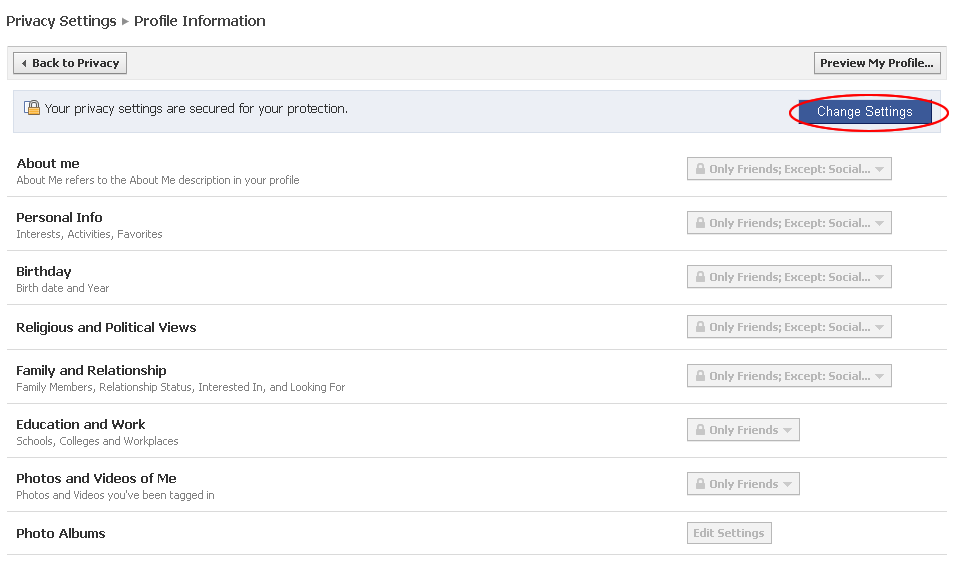
You will be prompted for your password. Once you’ve entered your password, you will now be able to edit the settings. Due to lack of time, I am only going to walk through one setting. All the rest are exactly the same. Please be sure you take the time to walk through each setting.
For this demo, let’s look at the “About Me” privacy settings. On the right side of the page, there should be a drop down menu with 4 options, select “Custom” (the most important thing is that NONE of these options are set to EVERYONE, unless, of coarse, you want that information available to everyone)

In the “Custom Privacy” box that pops-up, you can now have a few more options. You can make “About Me” information visible to certain people or hidden from certain people. For the purposes of this demo, let’s assume I want all of my friends to see this information, EXCEPT for the people I just added to the list I just created. To do this, I would set the “Make this visible to” option to “Only Friends” and set the “Hide this from” option to the list I just created.
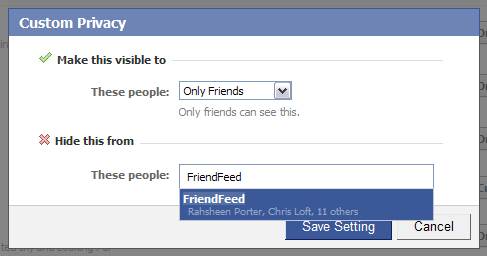
Once you are satisfied with the settings, click “Save Settings.” That should do it for the “About Me” section of your profile. Now you’ve got to run through all the other settings and pages to ensure your privacy is setup to your needs.
Curious to see if your settings took affect? From the Profile Information Page (or any of the other settings pages), click on “Preview My Profile”
From here, you can test out exactly what your profile looks like to other people. At the top, just type in the name of one of your friends, select them as they appear in the drop down, and sure enough, you’ll see your profile, exactly how it appears to them.
I hope this tutorial helps someone keep their data a little more private on Facebook. I strongly encourage everyone to visit their privacy settings and ensure you are not sharing anything you don’t want to be sharing with the general public.
Till next time…


